Threadless jewelry, sometimes called push-fit or press-fit jewelry, was invented by NeoMetal in 1997. It doesn’t have any threaded pieces; instead, the jewelry is held together by tension. Most often, threadless body jewelry contains two pieces, the decorative end, which can also feature a gem or cabochon, and the labret post or barbell. Some of our jewelry, like our curved and circular barbells, have dual open ends and have three pieces. In this article we will cover our recommended pin bending instructions for all of our threadless jewelry.
Bending for Labret Posts and Straight Barbells
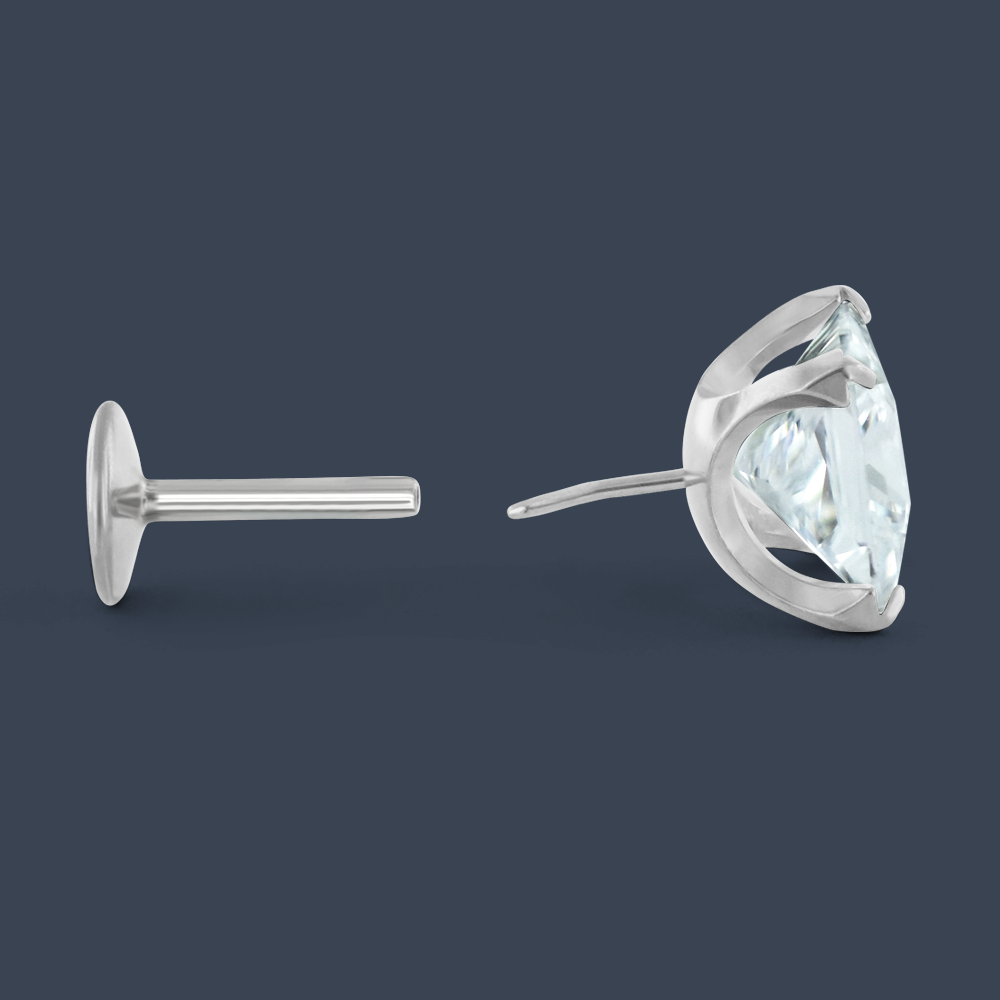
This is our recommended process for bending pins for use in our labrets and straight barbells.
STEP 1: Insert the pin about 1/3 of the way into the shaft.
STEP 2: Bend the pin between 10-20 degrees. For a tighter fit, bend slightly further.
STEP 3: To attach, push pin fully into shaft.
Step 4: For removal, pull apart the end from the shaft. If tight, add a twisting motion.
For a more in-depth tutorial, watch this video.

Bending for Curved and Circular Barbells
If you are using threadless curved or circular barbells, they may require a different bending technique to achieve the desired tension. For curved barbells we recommend a reverse bend or an “S”/zigzag bend. The reverse bend is done by inserting the pin 1/3 of the way inside the post, then bending reverse to the curve. The “S” or zigzag bend requires you to insert the pin an additional 1/3 and bend in opposite direction.
Circular barbells in diameters of ½" (12.7mm) and 7/16” (11.11mm), will insert without a bend, or require 1/3 of the pin inserted and then a bend in the same direction as the circular barbell is curving. Circular barbells in 3/8” (9.5mm) or 5/16” (7.9mm) will require 1/3 of the pin inserted and then bend in the same direction as the circular barbell is curving. It might also require inserting the pin further and bending at the ½ point. Make sure you are careful to avoid over bending!
Check out this video for a visual guide of these techniques.